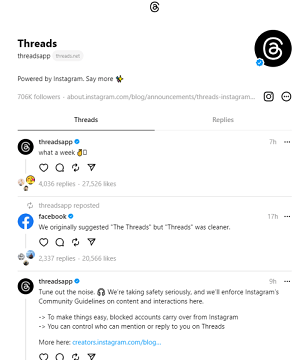
Threads is a new app from the parent company of Facebook Instagram and WhatsApp. This platform looks like Twitter, with a feed of larger text-based posts. With the help of this application, you can also post photos and videos.
Meta said messages posted to Threads will have 500 characters limit. Similar to Twitter users can reply to repost and like other Threads posts. But the application also blends Instagram aesthetic and navigation system and offers the ability to share posts from Threads directly to Instagram stories.
You need an Instagram account to create a Threads account. If you already have a verified Instagram account then your Threads account will also be verified. Currently, this application is only available for Android and iPhone. But people like to use this application on their PC. If you wish to install the Threads app on your PC you need to use Android Emulator like BlueStacks.
Here in dis particular tutorial, I am going to guide you to get Threads on PC Windows 7,8,10, and Mac. So keep reading this complete tutorial without any skip and get Threads on PC.
Also Check: How to Enable Dark Mode on Threads
How to install the Threads app on Windows PC or Mac
As we mention earlier Threads is only available on Android and iOS devices. With the help of Android Emulator, you can install any type of Android app on your PC. There are different Android emulators available in the internet market. You can use any one of them and install the Threads app on your PC.
Here in this guide, I am going to guide you to install Threads on PC using BlueStacks Android Emulator. BlueStacks is the most popular Android Emulator available on both Windows and Mac. Once you install the Android emulator on your system then your PC will act as an Android platform.
Steps to Install Threads on PC:
- First, you need to open Chrome Browser on your Windows PC or Mac.
- Visit the official Official website of BlueStacks.
- Now you need to download the BlueStack exe file from its official website.
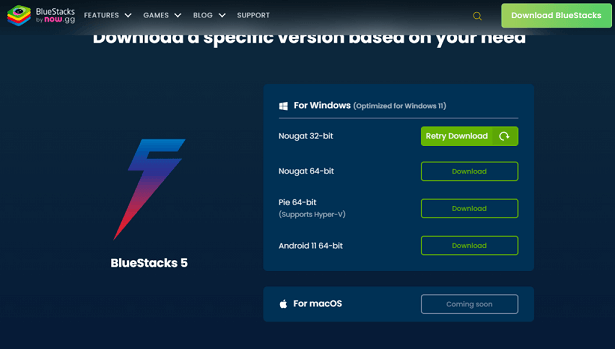
- Once the file is downloaded select the file and follow the on-screen instructions to install BlueStacks app on your Windows PC.
- After installing the App launch it and complete the sign-in process with the help of your Google account credentials.
- Once complete the sign-in process tap system apps on the home screen.
- Now you need to locate and select the Play Store app to launch it.
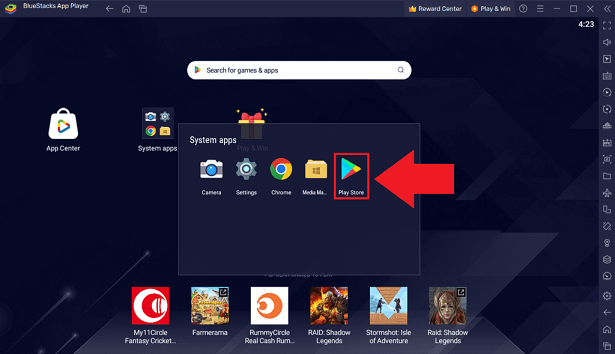
- Click the search icon on the Play Store and type Instagram.
- Select the official application from the search result and click the install button to download the app on your Android smartphone.
- Similarly, search for Threads by Instagram on the Play Store and install it.
- After installing both apps complete the sign-in process with the help of your Instagram account details.
- Now you need to open the Threads app and log in to your account.
- That’s it. Finally, you can use the Threads app on your Windows PC or Mac.
Also Check: How to Make Private Account on Threads
How to get the Threads app on a PC
If you don’t want to install third-party apps like BlueStacks on your PC then you can use the below method to get the application on your system. The only drawback of this method is that you can only view the Threads account. You cannot like comment or post content using this method.
- Open any Browser on your Windows or Mac.
- Navigate to the website and type the URL (https://www.threads.net/@(Username)).
- Make sure to type the username of your Threads account.
- Now you will be taken To the profile page of that account.
- Here you can view all the posts or content of the account.
Also Check: How to Change the Username on Threads
FAQs
1. Is Threads available for PC?
No, the Threads app is not available on the PC version.
2. How can I get Threads on my PC?
With the help of an Android emulator like BlueStacks, you can easily get the Threads app on your system.
Conclusion
I hope this article very helps to install and use Threads on PC Windows or Mac. If you have any doubts regarding this article let me know your queries in the comment box section. Keep in touch with us for more tech updates. Thanks for reading this article.